
Part 3
Using tack paste, we cover the spots on the hull that we want to remain yellow
Today’s operation was pretty simple – I used tack paste (Brits call it “blue tack”, don’t remember a US analog for this stuff – it’s basically a gum paste that people use to stick posters and things to walls) as a masking element with a bit of regular masking tape to help out here.

My local version of tack paste.
Almost any kind of tack paste works, the stuff I get seems pretty specific to Germany, but you’ll find similar all over the world. The principle is that where I put the mask, the model remains the original sand yellow color. So once I had the tack where I wanted it, I sprayed the whole thing with the next color in line – German Army green. Flames of War folks know this stuff as “reflective green,” and this is close, but it’s a genuine army paint here.

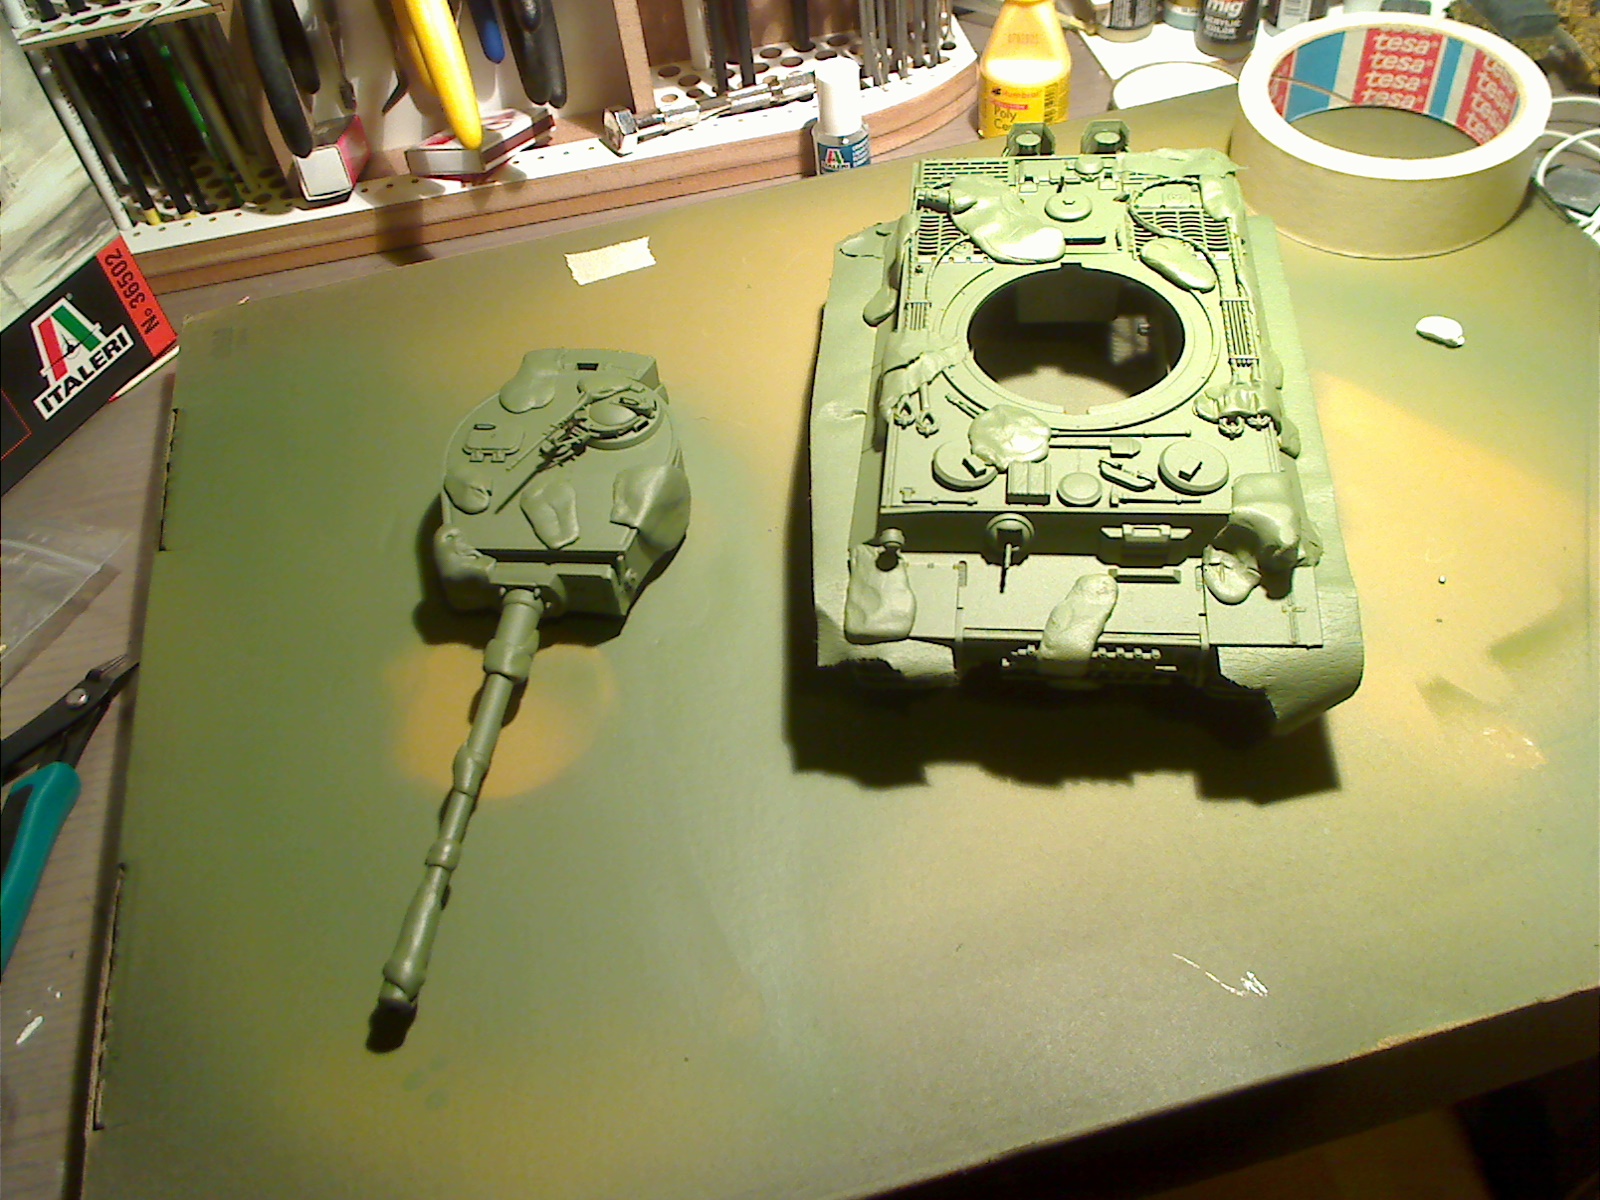
Tack paste masking on the turret
Tomorrow this stuff will have dried completely, and I’ll add more tack and tape to cover up about half of the remaining exposed space, and then hit it with a full coat of German Army brown. After that’s dried, I’ll peel off the tack & tape, and I’ll be left with the tank in three-tone base for its camouflage. After that it’ll be a matter of adding spots (traditional German ambush-camo had contrasting spots, and the WoT version was much the same). Although the original “real life” versions also had the track wheels done up, in WoT the wheels were armor gray, so I’ll hit them up with that after masking away the rest of the hull to avoid spillage.
Then it’ll be time for a few details, like metallics on the machine gun, and some track details – then scarring and weathering for the whole thing.
Part 4

Fresh tack and tape applied
Okay, I’ve applied more tack and a lot more masking tape to the hull and turret, now that the green has had a chance to dry. I use a lot more masking tape now, because the job at this stage is to break up the large areas, and preserve some spaces that will remain green. Since now there’s a pattern beginning to build up, masking tape works as a “bridge” between areas of tack, and the extra tack is only really needed in spaces where the tape is too big or threatens surface detail.
I have to note here, artists call this work “negative space” – since what I’m doing is technically preserving a color rather than applying a new one (though I’m also doing that). I find this one of the hardest parts of modeling for me to wrap my brain around. I’ve been doing progressive layers upon layers in the past, and it’s very hard for me to grok the concept of picturing how the model will look after applying the next coat.

Fresh tack and tape applied
Now that this stuff is on, I’ll hit the wheels up first with a coat of light grey (to match what’s in the game). After that’s had a chance to dry, the armor brown will go on over the rest, and then that’ll be given some time to dry before peeling off the masks.
One note on the “blue tack” crap – that stuff is re-usable. Even after you spray paint it, you can still ball it up and it’ll retain its tacky nature, so you can use it again and again and again. Eventually it’ll lose its ability to cling, but that’s a long while out, and if this model goes well I intend to do similar jobs to a bunch of my 15mm-scale Flames of War Germans.
And maybe to that E25 that’s been sitting on my shelf for a verrrry long time, begging me to paint it in action!
Part 3
Alright, the tape and tack are off – and it looks pretty good!
One note – when removing tack from your own models, be very careful with and around delicate parts. This stuff can be hard to peel off, and it might take handles, antennae, or headlights with it. Also, some brands can be a lot more “gluey” than others, and hard to pull away. If you experience this problem, ball up some of the tack and use it to pat on the stuff still attached to the model. Repeated patting will get the stuff to stick to itself, and you’ll peel it off the model without too much trouble.

All the tape and tack are off
Other entries in this build log: First Entry; Third Entry; Fourth Entry; Final
Pingback: Build Log: Italeri “World of Tanks” Tiger 1 Model | Borked Code
Pingback: Build Log: Italeri “World of Tanks” Tiger 1 Model – cont’d | Borked Code