Part 6
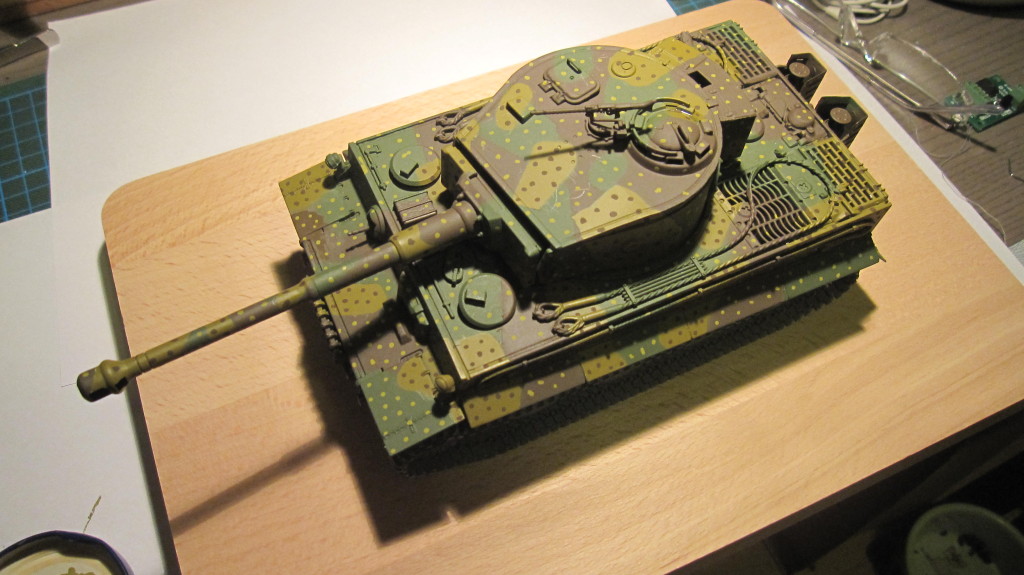
Not a lot of action today, though it might look like it – I applied the “dots” of the ambush camo pattern today, and that’s likely to be it for the day. I used middlestone and chocolate brown for the dots on the various bits. Tomorrow I’ll apply some gunmetal to the machineguns and tool heads, beige or something similar to the tool handles, and most of my effort will then go to the tracks. After that it’ll be weathering time.
I pulled out a beech cutting board I bought from a discount store which I’ll use as a base. For now, it’ll be a plain-jane base and I’ll fix the model to it with a nail or two, but later I’ll go back and add some ground and proper vegetation.
That’s the news…more when I post it.
Part 7
Hi everyone, back again.
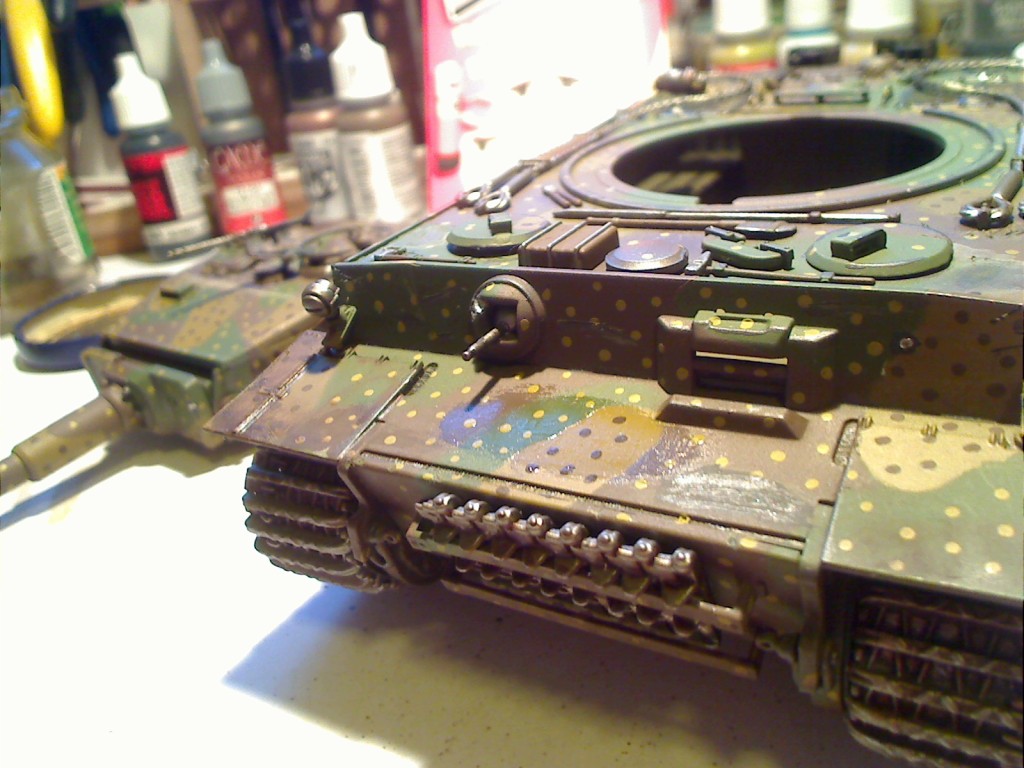
I tackled the tracks today, along with the details of tools and machineguns, highlighting, weathering, and putting some shell-holes on the commander’s cupola and forward machinegun port (traditional aiming spots for low-level TDs like Wolverines, etc.). Bit of a pain in the butt to go over it with a metallic highlight, but I’m of the school of thought that says weathering of that sort should be hinted at rather than overblown (on 15mm scale, that is reversed or you lose it, but on 1:35, overdoing it makes the model look like a big turdnugget). In-game, the Tiger has steel showing through on practically every corner or crease, and while that looks good in graphics, on a model it would come out gaudy and unrealistic.
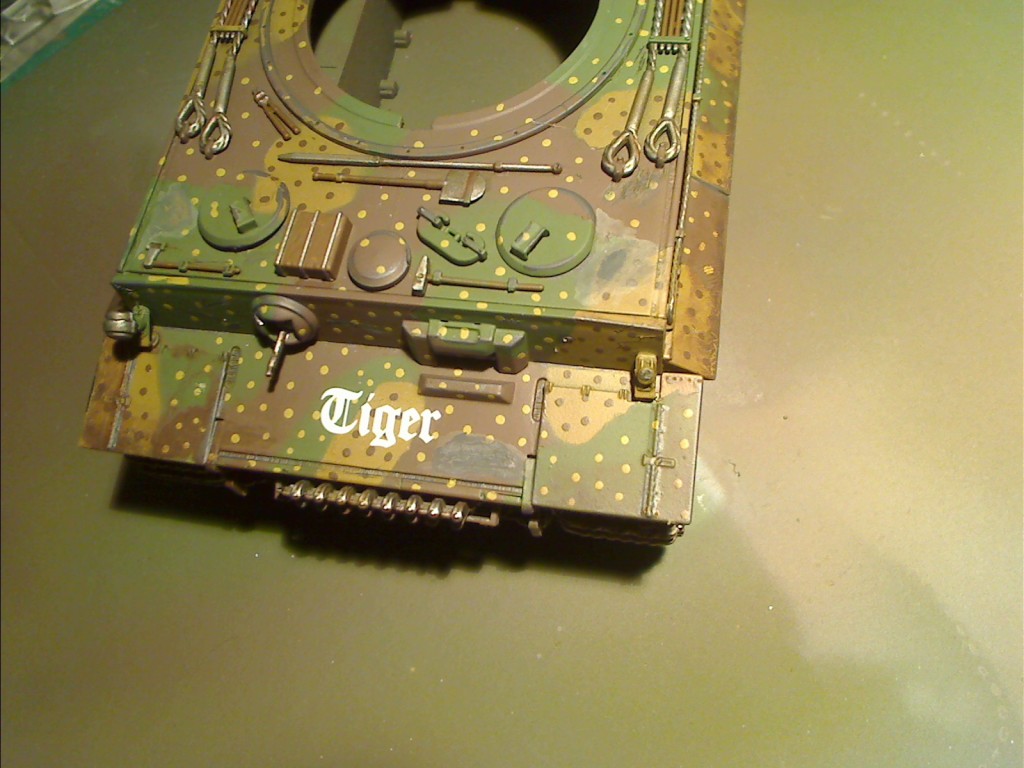
I don’t have good pics of the tracks right now, mostly I was focused on the hull and turret, but I’ll shoot a few pics with the tracks visible when I get it on the base. Meanwhile, notice the glare on the shot above? That’s intentional – I’ve brushed on some gloss coat where the decals will go, tonight. Gloss coat makes for a really smooth surface, and prevents air bubbles from staying behind your decal (which can result in “silvering”, where the film on which the decal sits shows up visibly – you want that to not appear at all, the decals should look as if they were painted on).
I also noticed something while picking out the decals from the sheet – as a whole, the decal sheet isn’t the best quality I’ve ever seen. It’s workable, but the decals themselves look a little too fuzzy. It’s possible that this was intentional, that they were printed “pre-weathered” to match in-game styles, but when I was looking at them initially I was feeling a little skeptical. I’ll update again after I put them on tonight.
Part 8
All done with the decals – and I was wrong about them being bad, they were just designed with a little “pre-weathering” on them already. They look just fine.
Other entries in this build log: First Entry; Second Entry; Fourth Entry; Final


